Google Workspace SAML Setup
Create a new SAML configuration in Kasm
Log into the Kasm UI as an administrator.
Select Access Management -> Authentication -> SAML -> Add Configuration.
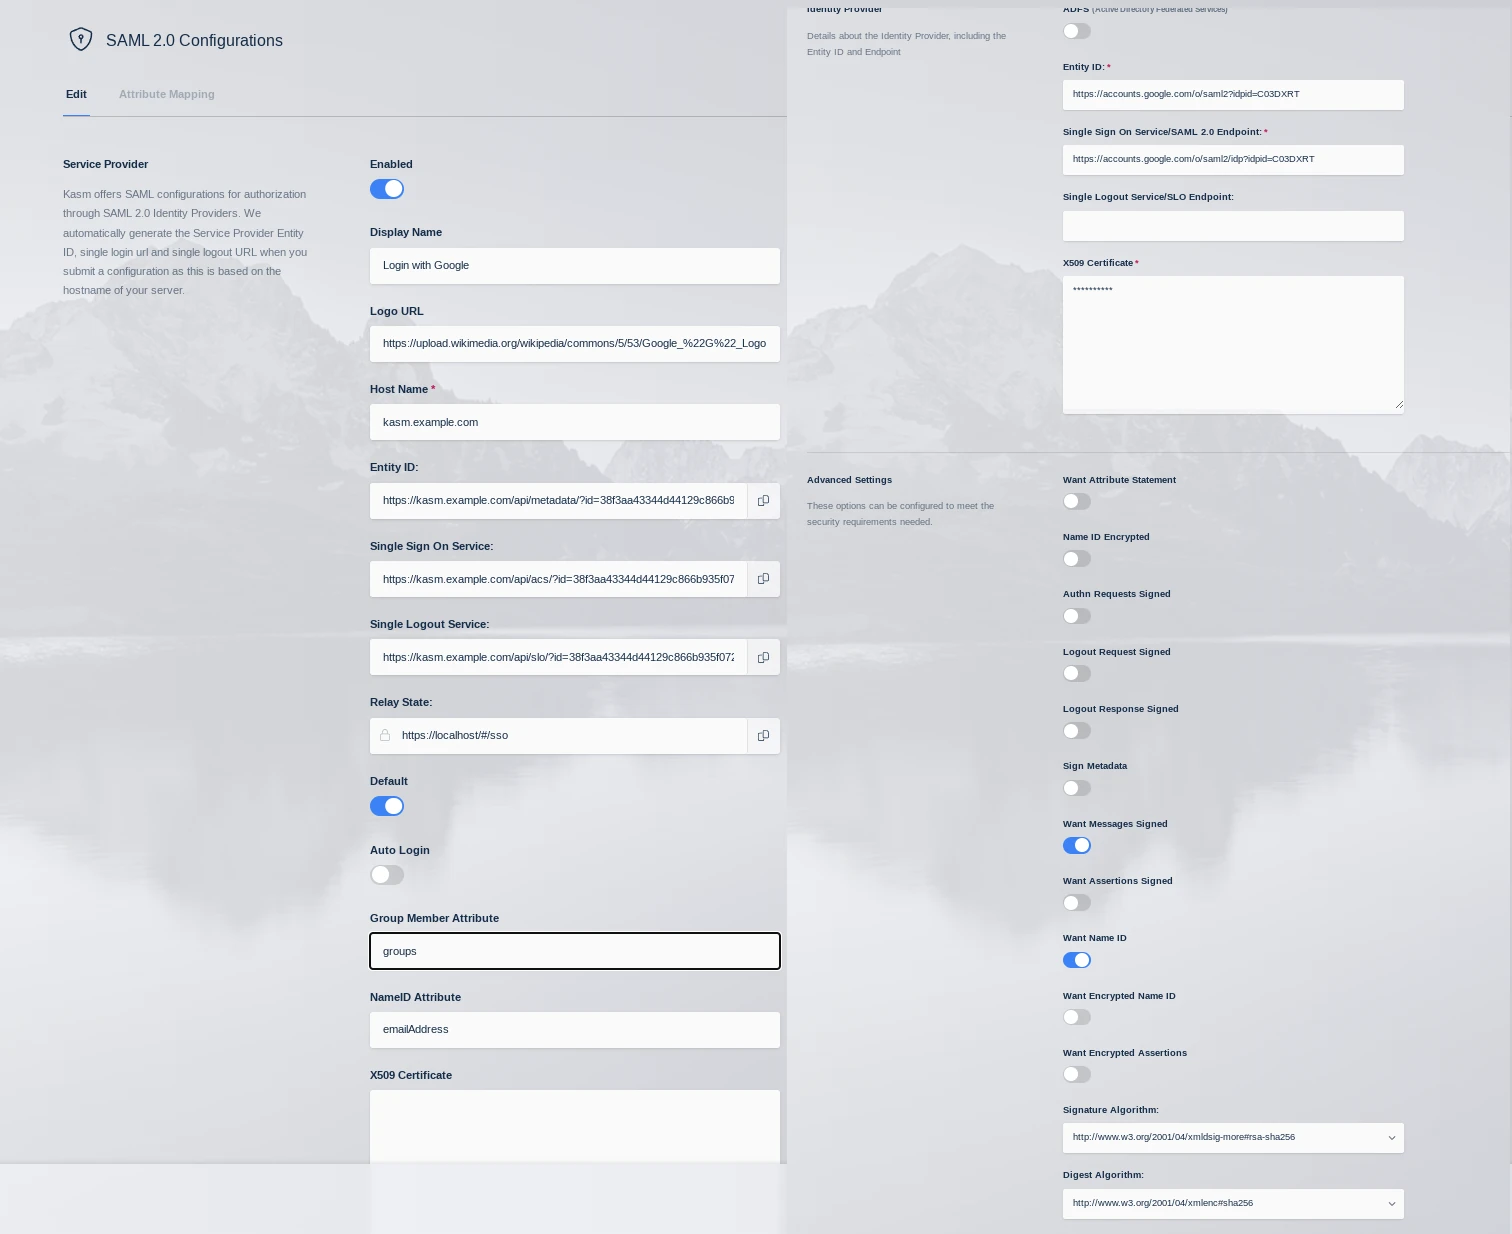
The SAML 2.0 Configuration page will auto-generate the Entity ID, Single Sign On Service, Single Logout Server, and Relay State values.
Check Enable, enter the Hostname of the Kasm Workspaces URL (e.g
kasm.example.com) and enter a Display Name. e.g (Login with Google).Update the following Settings:
Setting |
Value |
Group Member Attribute |
groups |
NameID Attribute |
emailAddress |
Want Attribute Statement |
Unchecked |
Want Assertions Signed |
Unchecked |
Want Messages Signed |
Checked |
Want Name ID |
Checked |
Signature Algorithm |
rsa-sha256 |
Digest Algorithm |
sha256 |
Leave this page open and continue to the next steps.
Add a new application in Google Workspace
Open the Google Admin Console, Expand Apps, then Select Web and mobile apps.
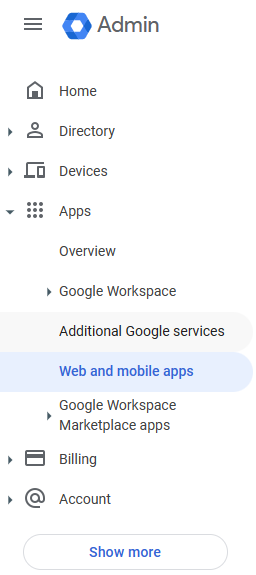
Portal Navigation
Select Add app, then click Add custom SAML app.
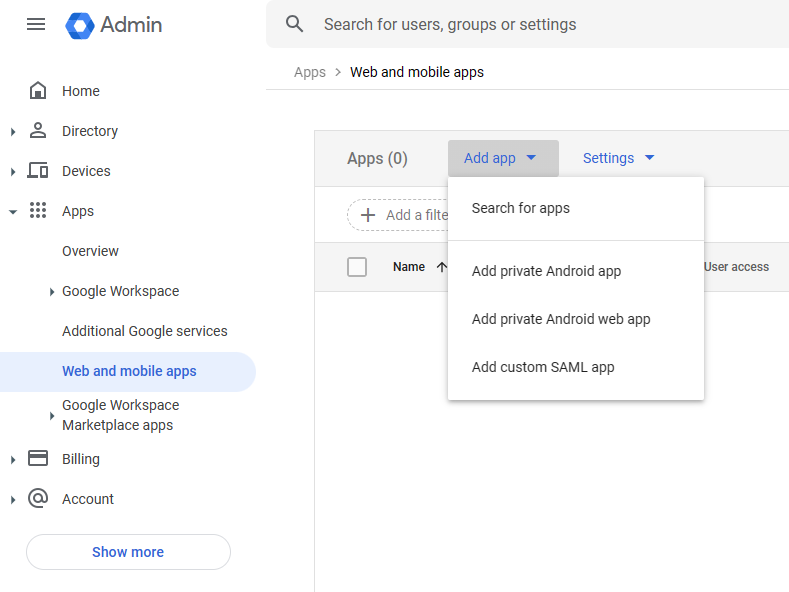
SAML Apps
Enter an App name (e.g Kasm Workspaces) then select Continue.
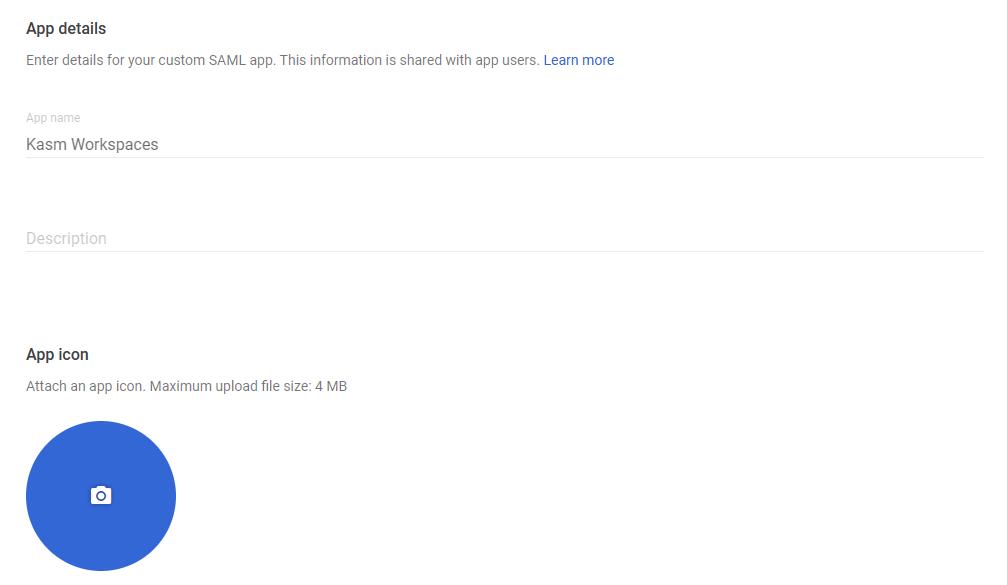
Add Applications
Copy the Google IdP entries to the Identity Provider section of the Kasm SAML Configurations started in the previous section. Then click Continue.
Kasm Property Name |
Google Workspace Property Name |
Entity ID |
Entity ID |
Single Sign On Service |
SSO URL |
X509 Certificate |
Certificate |
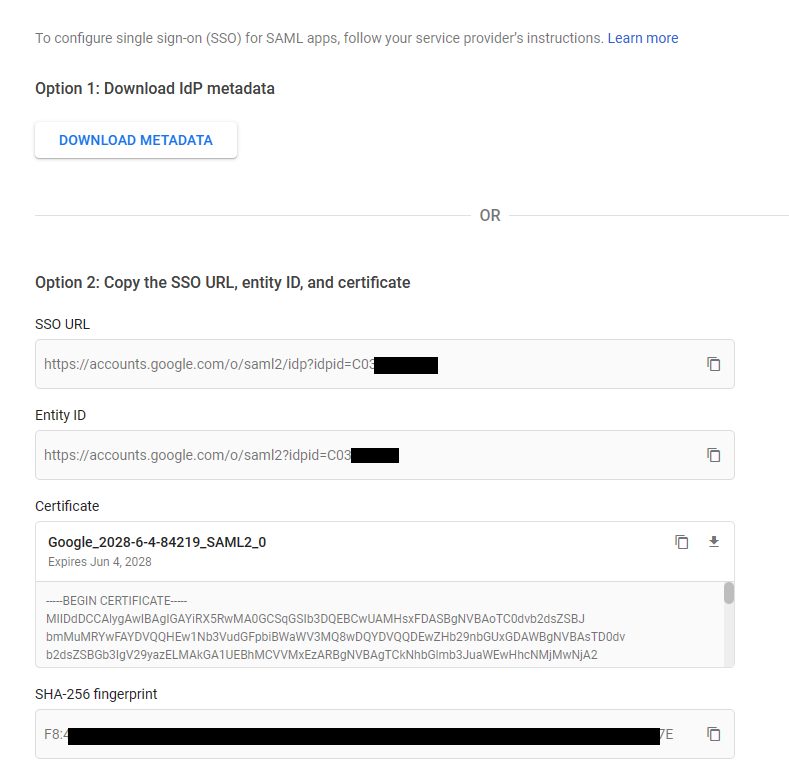
Google IdP Information
Copy the Kasm SAML configurations from the Service Provider section into the Service Provider Details section.
Kasm Property Name |
Google Workspace Property Name |
Entity ID |
Entity ID |
Single Sign On Service |
ACS URL |
https://<server-url>/#/staticlogin e.g
|
Start URL |
Service Provider Details
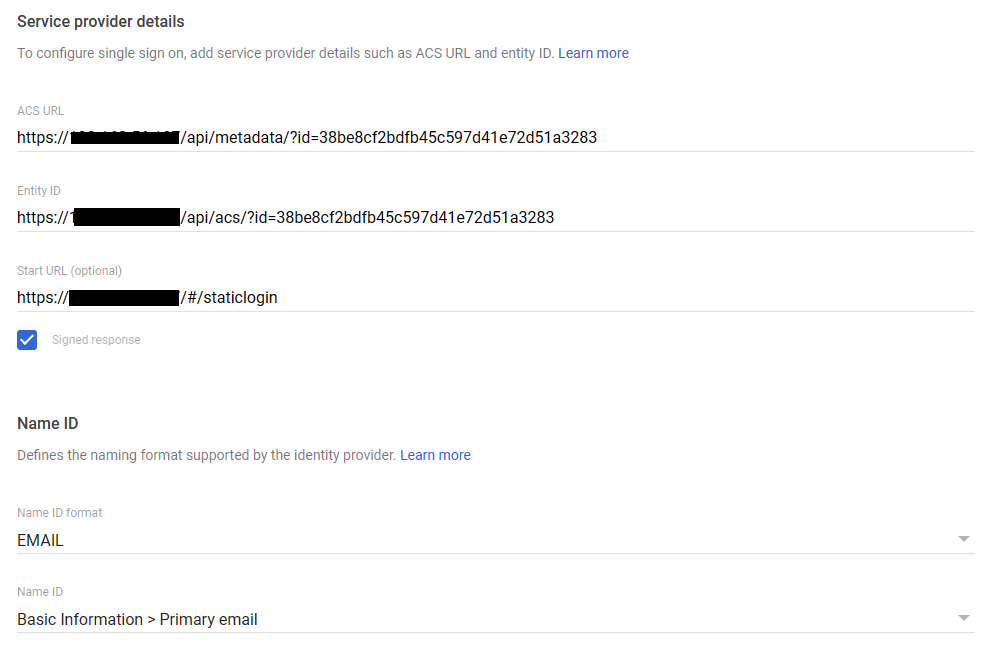
Ensure the following settings are configured in the Google Workspace Service Provider Details . Select Continue.
Setting |
Value |
Signed Response |
Checked |
Name ID |
Basic Information / Primary Email |
Name ID Format |
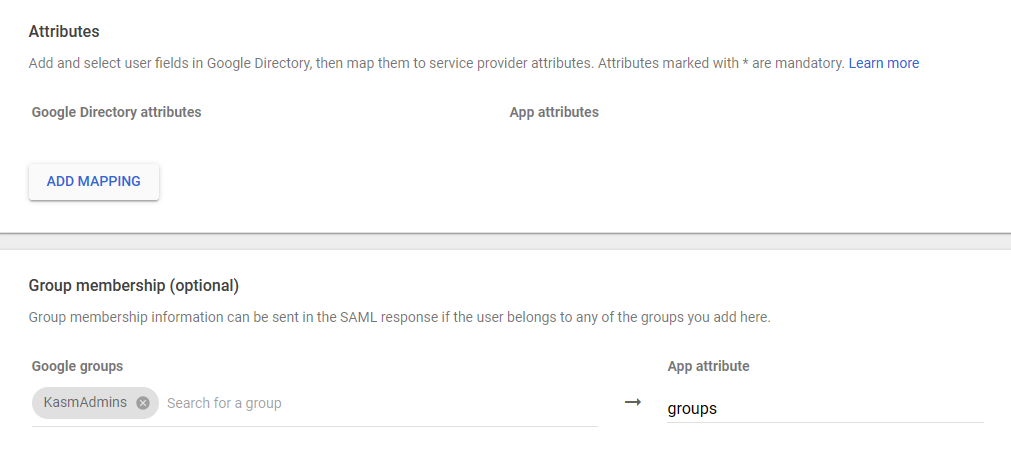
If desired, select Google groups to pass to Kasm in the SAML assertion. Ensure the App attribute is set to
groupsto match the Group Membership Attribute previously configured in the Kasm SAML settings. In this example, a previously created security groupKasmAdminsis selected. When complete, select Finish.
Group Mempership mapping
Review the final Kasm SAML Configuration form. Click Sumbit to save.
Google SAML Config
Enabling Access for Users
Once the Kasm SAML app is configured , access must be granted to Google users.
From the Google Admin Admin Console Expand Apps, then Select Web and mobile Apps, then select Kasm Workspaces
Click User Access
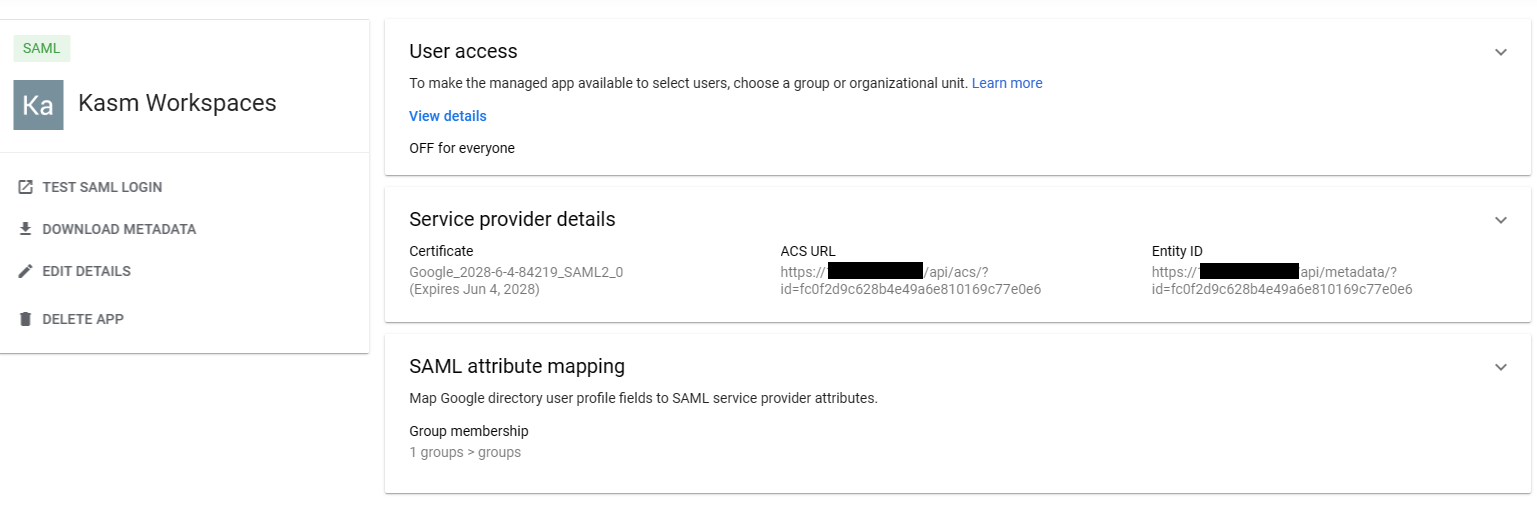
Edit Service
Select ON for everyone or for the desired Organizational Units or Groups, then click Save
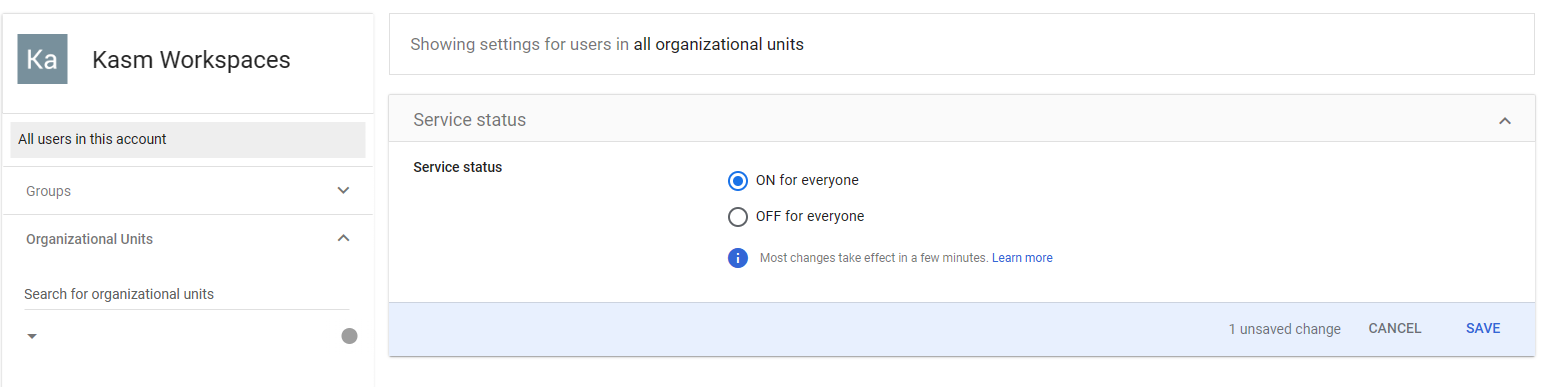
Giving App Access
Group Mappings
In the previous steps, the Google Workspace SAML configuration was configured to pass the KasmAdmin
security group in the SAML assertion. The following example will demonstrate how to associate the Google
group with a Kasm Group.
Log into the Kasm UI as an administrator.
Select Access Management -> Groups then select Edit next to the Administrators Group.
In the SSO Group Mappings section, select Add SSO Mapping.
Select SAML-Login with Google in the SSO Provider* section.
Enter
KasmAdminsin the Group Attribute section.
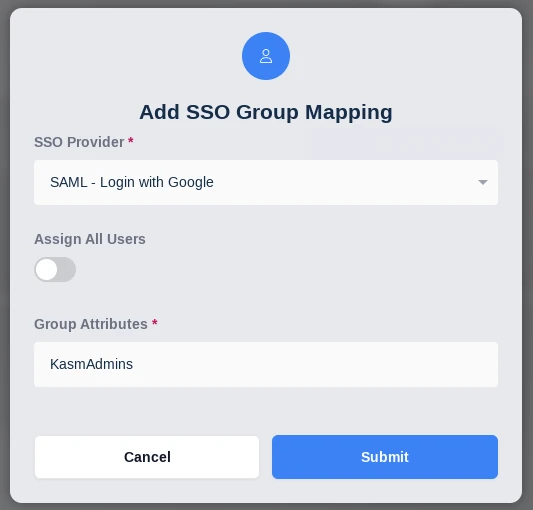
SSO Group Mapping
Testing Access
Log out of the Kasm UI if already logged in.
Navigate to the Kasm UI login page.
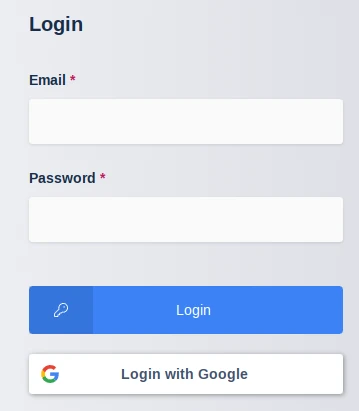
Kasm Login
Click Login with Google to initiate the SAML SSO process.
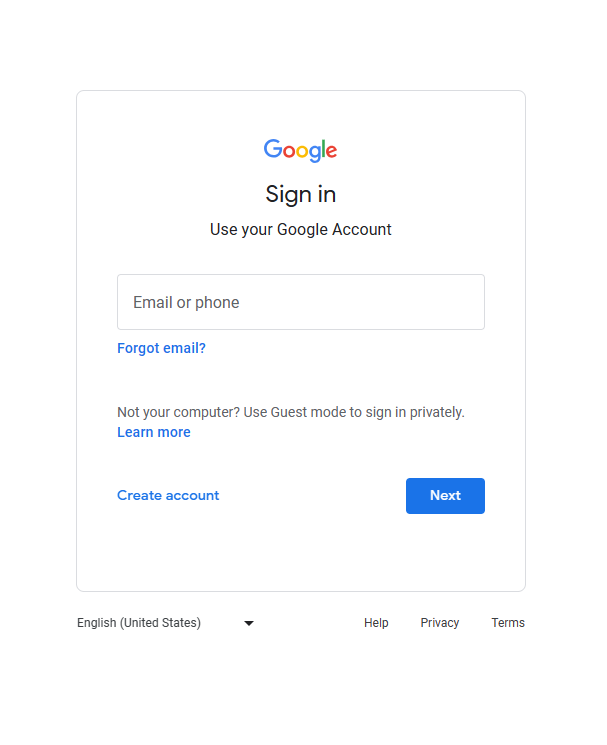
Google Login
After logging in, you should be redirected to the Kasm UI Dashboard. If the user was a member of the
KasmAdminsGoogle group, they should now be a member of theAdministratorsgroup within Kasm.From another browser, login to Google. Click the Google Apps icon in the top right corner. Scroll down and click Kasm. You should be logged into the Kasm UI Dashboard.

Kasm App in Google Apps