Microsoft (Internal) OpenID Setup
This guide walks through a basic setup allowing Microsoft users to authenticate with your Kasm deployment.
Reference Docs:
https://docs.microsoft.com/en-us/azure/active-directory/develop/quickstart-register-app
https://docs.microsoft.com/en-us/azure/active-directory/develop/active-directory-v2-protocols
https://docs.microsoft.com/en-us/azure/active-directory/hybrid/how-to-connect-fed-group-claims
Creating a Microsoft OAuth App
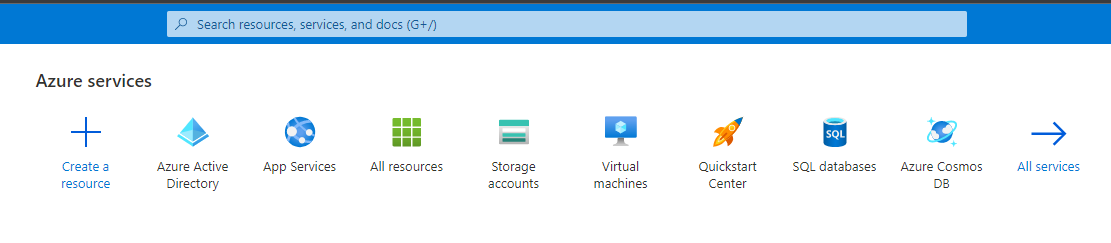
Login to the Microsoft Azure Portal: https://portal.azure.com/
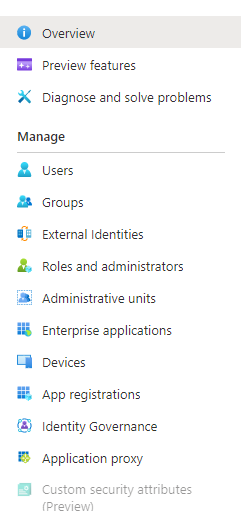
Select Azure Active Directory.
Azure Active Directory
Select App Registrations.
App Registration
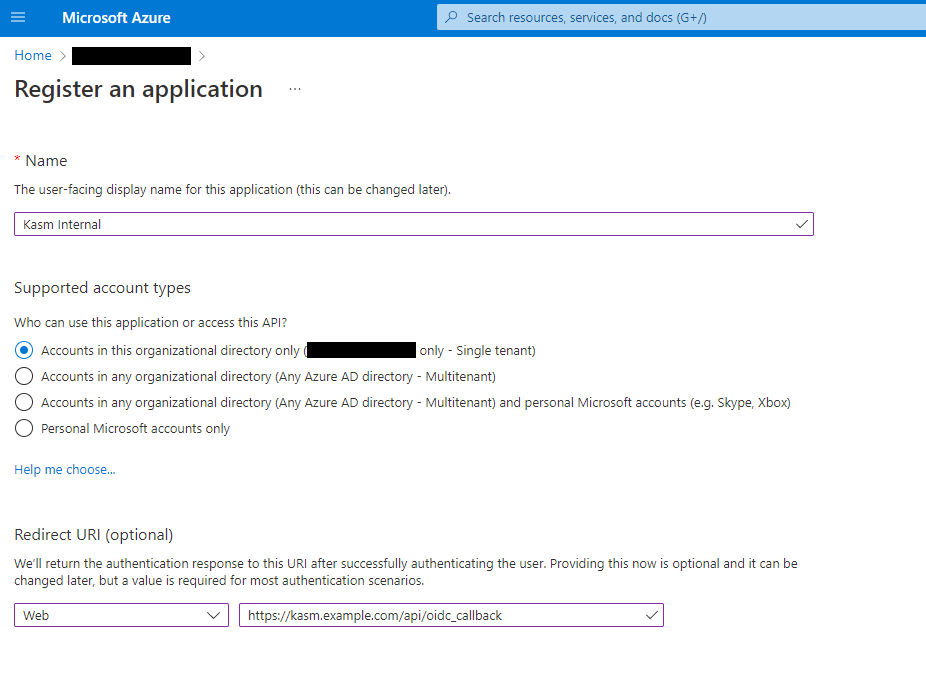
Select New Registration.
Give the app a Name (e.g
Kasm)In the Supported account types select Accounts in this organizational directory only….
Register App
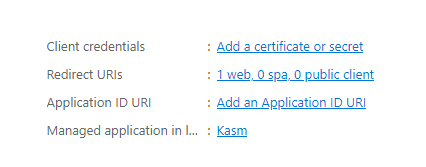
On the next page, the Application (client) ID is shown, save this value as the Client ID to be used in the next section.
Select Endpoints. Note the OAuth 2.0 authorization endpoint (v2), OAuth 2.0 token endpoint (v2), and OpenID Connect metadata document values to be used in the next section.
Select Add a certificate or secret next to Client credentials.
Client Credentials
Select the Client secrets tab, then slick New client secret.
Enter a description and expiration then click Add.
The credentials are shown, save the Value as the Client Secret to be used in the next section.
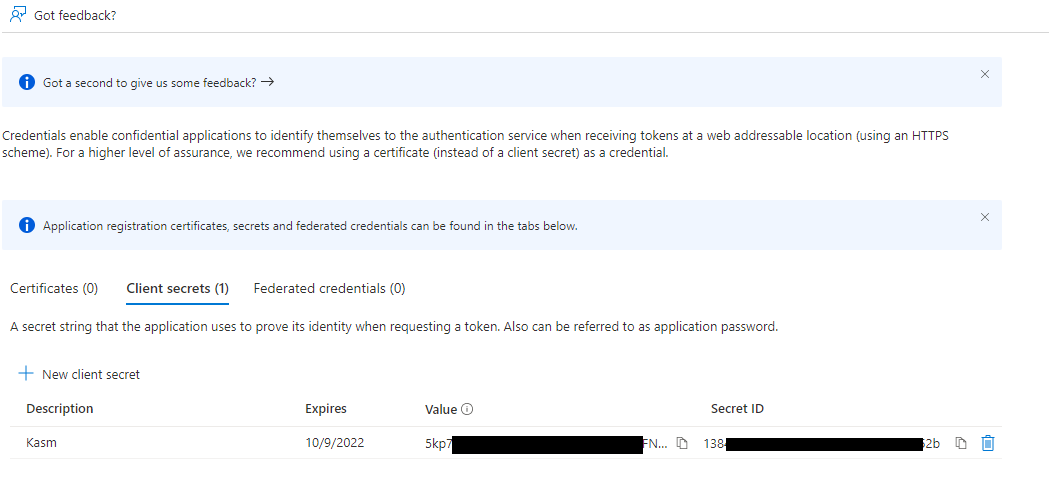
Client Secret
Select Token configuration.
Select Add groups claim.
Check Security groups, then click Add.
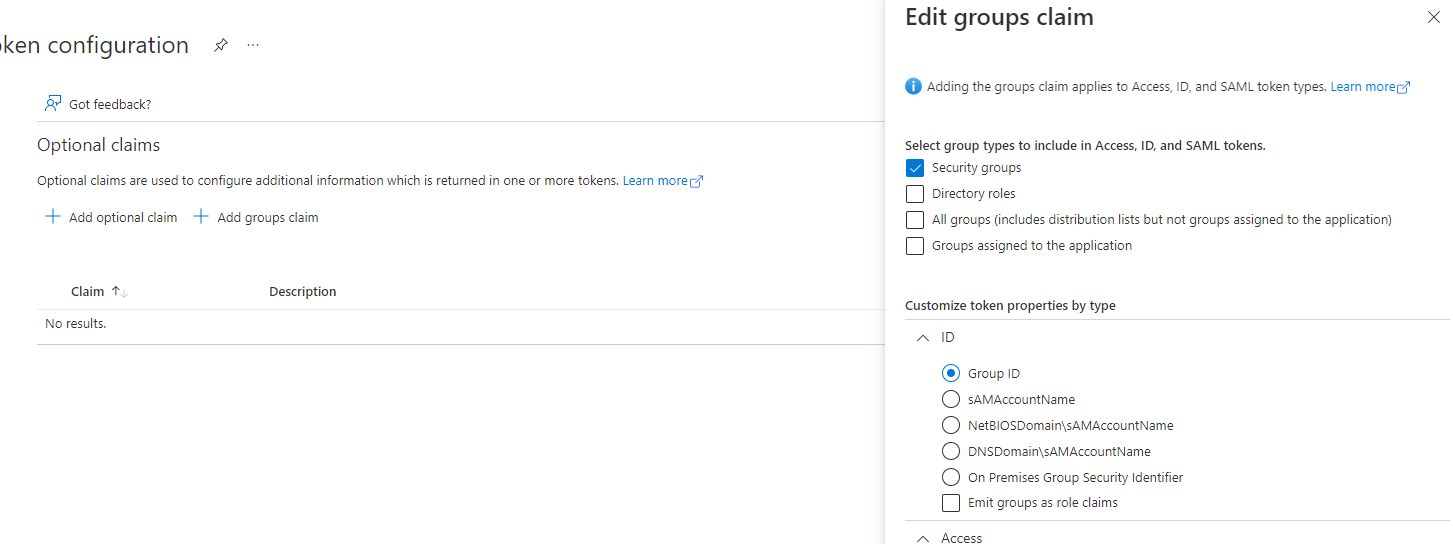
Group Claims
Select Add Optional Claim
Under Token Type select ID, then check the box for sid. Click Add.
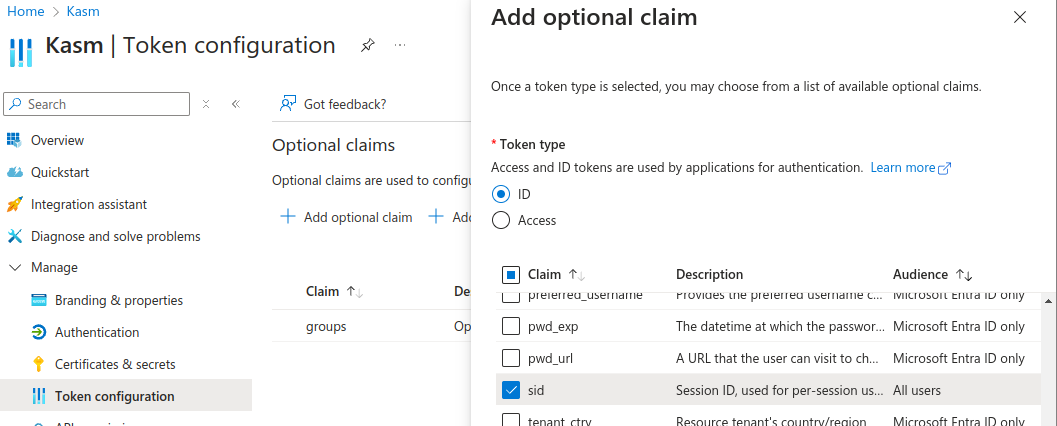
SID Claim
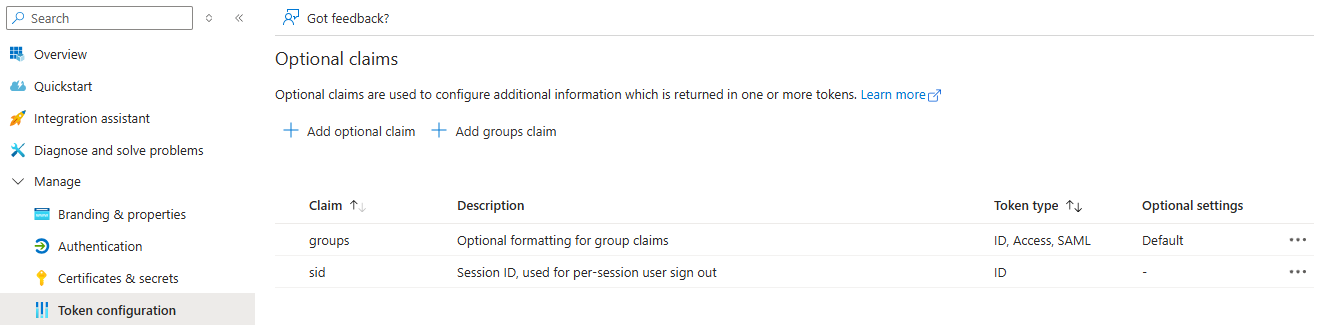
Claims Configured
Select Authentication
In Front-channel Logout URL, provide the Kasm
/api/oidc_frontchannel_logoutendpoint as shown. Click Save.
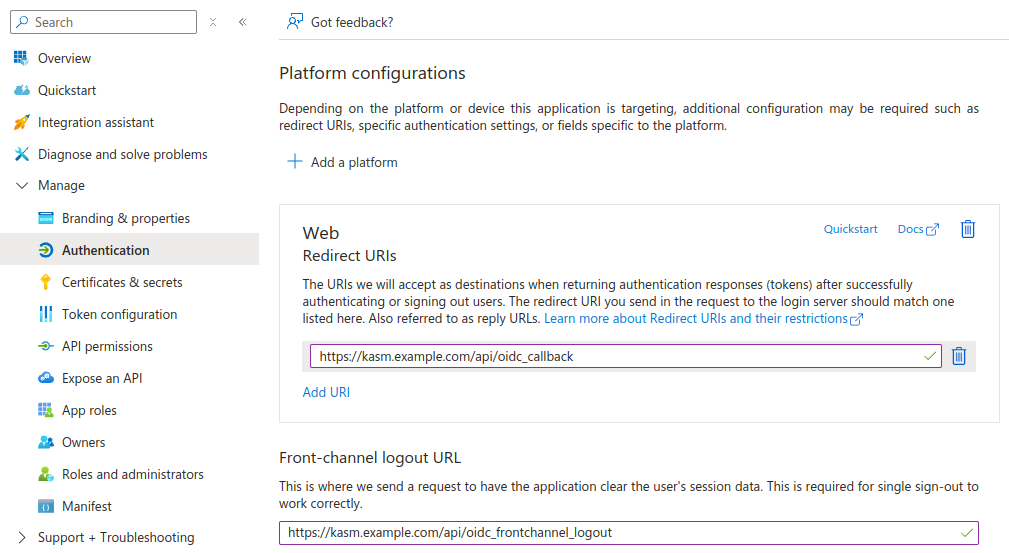
Front-channel Logout URL
In another browser tab, navigate to the OpenID Connect metadata document URL value saved from earlier. Find and save off the value for the
"issuer"field in the response, to be used in the next section.
Kasm OpenID Config
Log into the Kasm UI as an administrator.
Select Access Management -> Authentication -> OpenID -> Add Config.
Update the form with the following entries, using the Client ID and Client Secret gathered in the previous section.
Property |
Value |
Enabled |
Checked |
Display Name |
Continue with Microsoft |
Logo URL |
|
Auto Login |
Unchecked |
Hostname |
<Empty> |
Default |
Checked |
Client ID |
<Client ID from Microsoft OAuth App> |
Client Secret |
<Client Secret from Microsoft OAuth App> |
Authorization URL |
<OAuth 2.0 authorization endpoint (v2) value from Microsoft OAuth App> |
Token URL |
<OAuth 2.0 token endpoint (v2) value fom Microsoft OAuth App> |
User Info URL |
|
Scope |
|
Username Attribute |
|
Groups Attribute |
|
Debug |
Unchecked |
Redirect URL |
|
OpenID Connect Issuer |
<Issuer value from the OpenID Connect metadata document> |
Logout with OIDC Provider |
Checked |
Enable OIDC SLO Frontchannel Endpoint |
Checked |

Kasm OIDC Configurations
Click Save to save the changes.
Microsoft Login Test
Logout of the Kasm to display the login screen. The OpenID configuration should be shown.
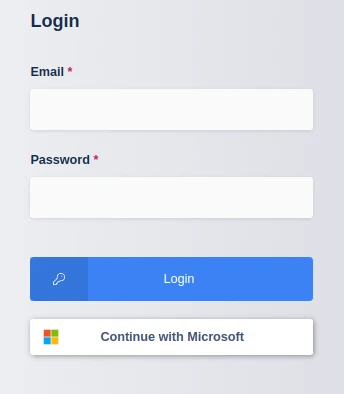
Login Screen
Click Continue with Microsoft
The user is redirected to Microsoft for auth.
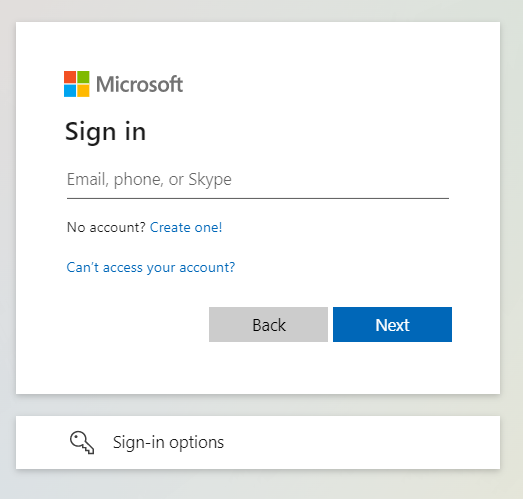
Microsoft Auth
Upon completion, the user is logged into the Kasm app.
Group Mapping
The previous configurations will instruct the identity provider to send a list of Security Group ID the user belongs to during the OpenID auth workflow. We can configure Kasm Groups with the Security Group IDs from Azure AD so that users are automatically added/removed based on their Azure AD group Membership.
Log into the Kasm UI as an administrator.
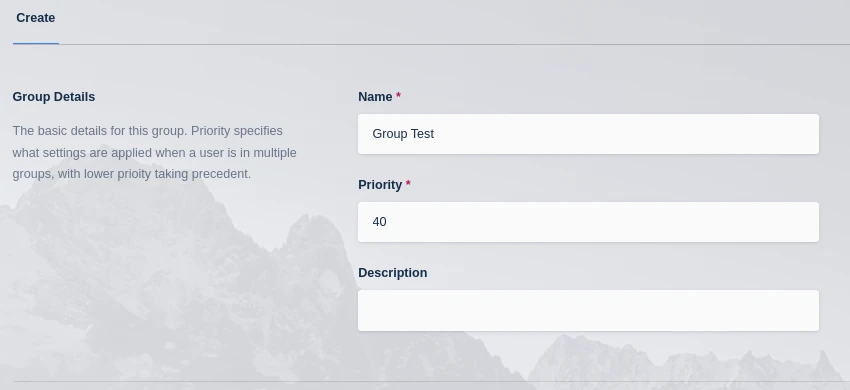
Select Access Management -> Groups -> Add Group.
Name the Group Group Test, and define a priority.
Click Save to create the group.

Add Group
On the groups screen, using the arrow menu select Edit on the group that was just created.
Navigate to the SSO Group Mappings tab and select Add SSO Mapping.
Select the OpenID IDP that was created above “OpenID - Continue with Microsoft” for the SSO Provider.
Then enter the Azure AD security group ID desired in the Group Attributes field.
Add SSO Group Mapping
Click Submit
Logout, then login via the Microsoft Open ID login with a user that is a member of the specified group.
View the users group membership to ensure they are added to the newly created group.